

Illustrating stories and picture books in 10 steps: A short guide
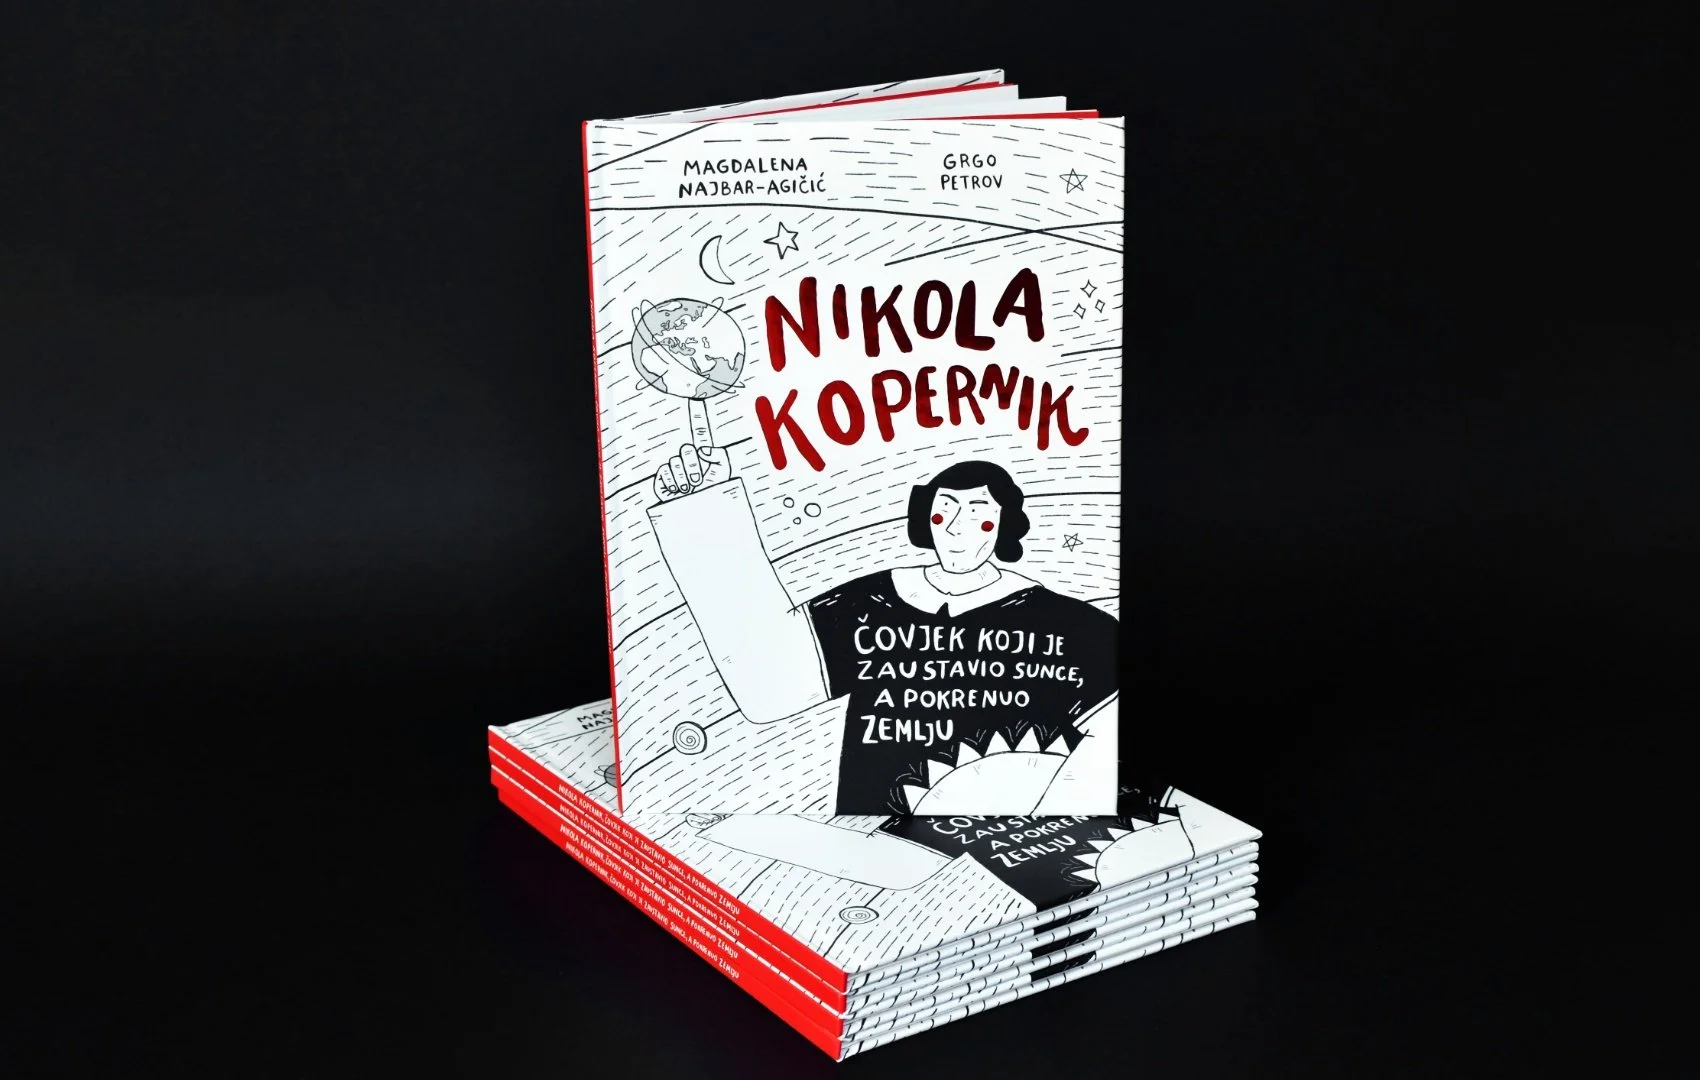
Discover the basic steps in the process of illustrating stories, from the initial stages of the project and initial sketches to refinement, book layout, and graphic preparation for print.
Are you an author searching for an illustrator or perhaps an illustrator in need of assistance with the book design process?
Here is a shortened version of the guide for those who lack time for details but still wish to learn briefly about the concept and creation of illustrated stories.
Here, you will find a summary of the illustration process for stories and picture books based on a project involving the illustration of a story and book layout about Nicolaus Copernicus (publisher: Polish Cultural Association "Mikołaj Kopernik").
The process is similar to creating visual identities or websites and consists of several phases.
The first phase is the most important.
01 Insight and defining the scope of a project
In this phase, together with the client or author we…
gain insight into the project through a portion of text or the complete story
clarify the project's objectives
define project deadlines
define the project budget
define responsibilities and other commitments
define success parameters
sign a collaboration agreement outlining the rights and obligations of both parties, as well as deadlines, budgets, fees, and other details
After the 'bureaucratic part,' we address several details related to the creative aspect we…
define the target audience for whom the project is intended
set an appropriate tone and communication style
review and analyse reference projects using a design index or mood board - what works well and what doesn't in others, and what we aim to achieve
select the medium and format - whether it's print and/or digital publication, whether we have predefined book dimensions, etc.
Next comes the research phase, or the Indiana Jones-style exploration among available online and offline projects.
02 Research and design mood board
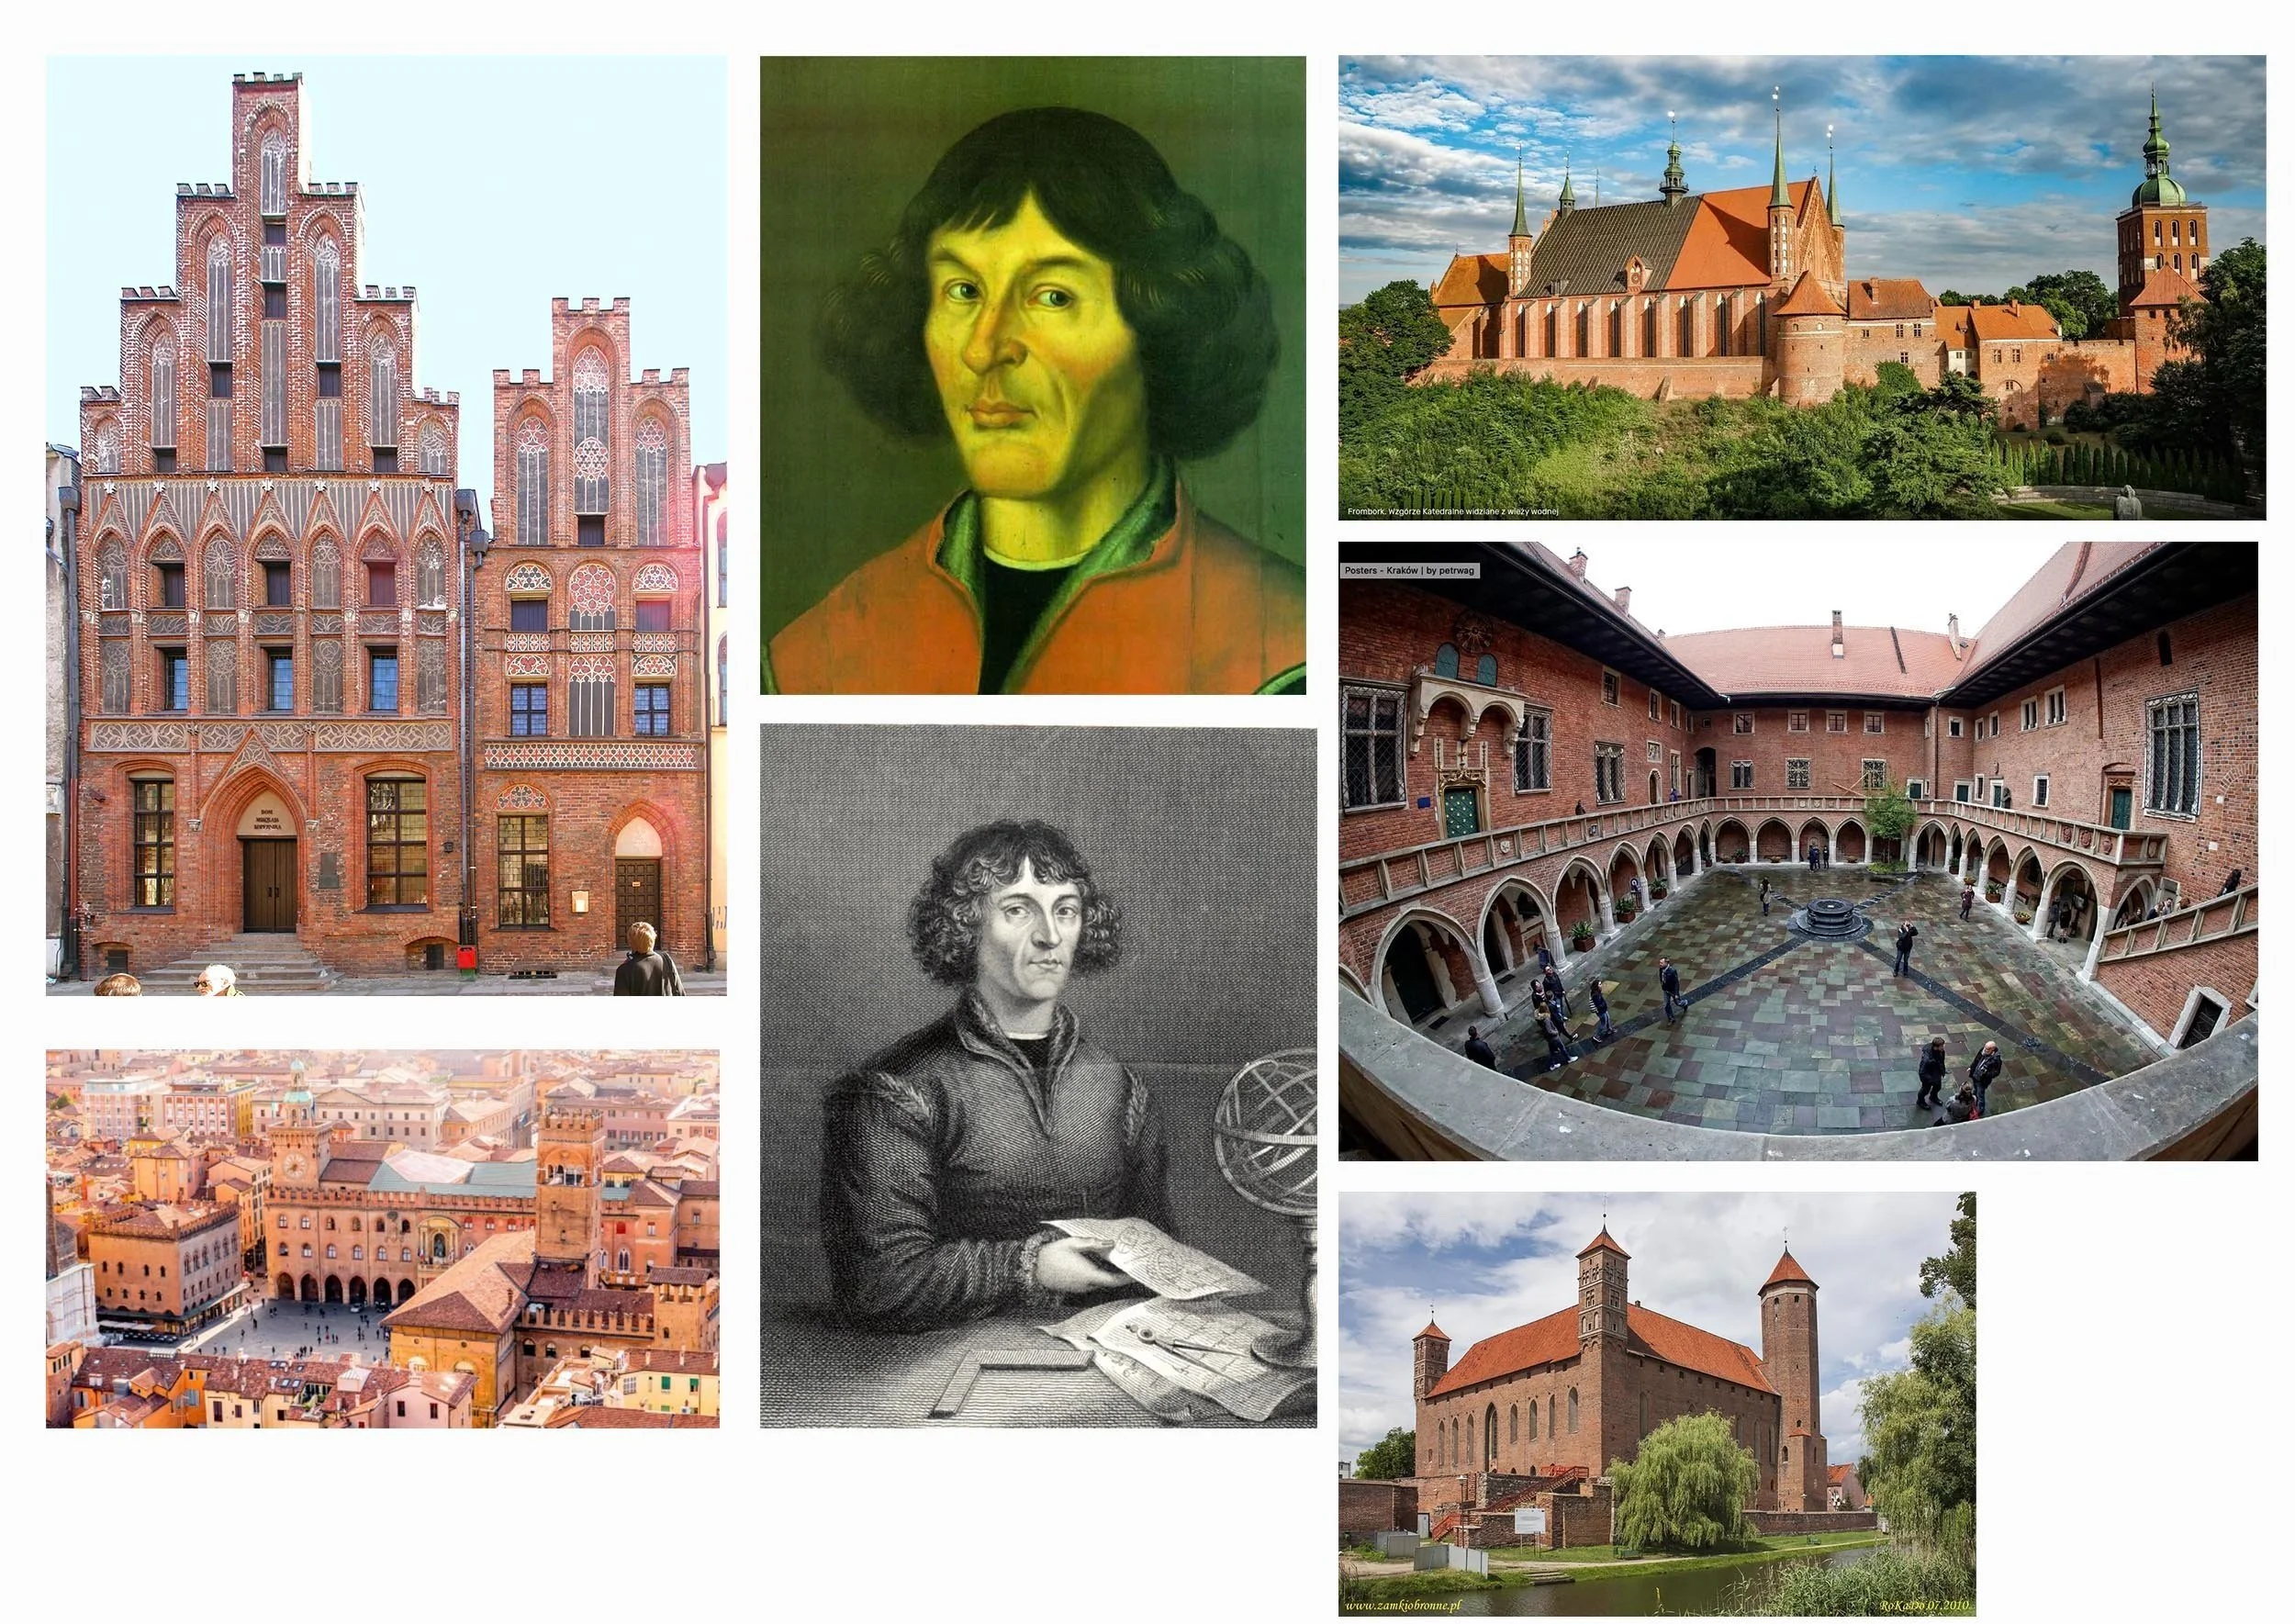
This stage involves extensive research and diving into literature - I strive to further explore and understand the context of the task or story. For example, what did clothing and architecture look like in the early 16th century in the Kingdom of Poland?
Additionally, for each section of text intended for a specific page, I write key concepts, associations, and situations that I would visualise.
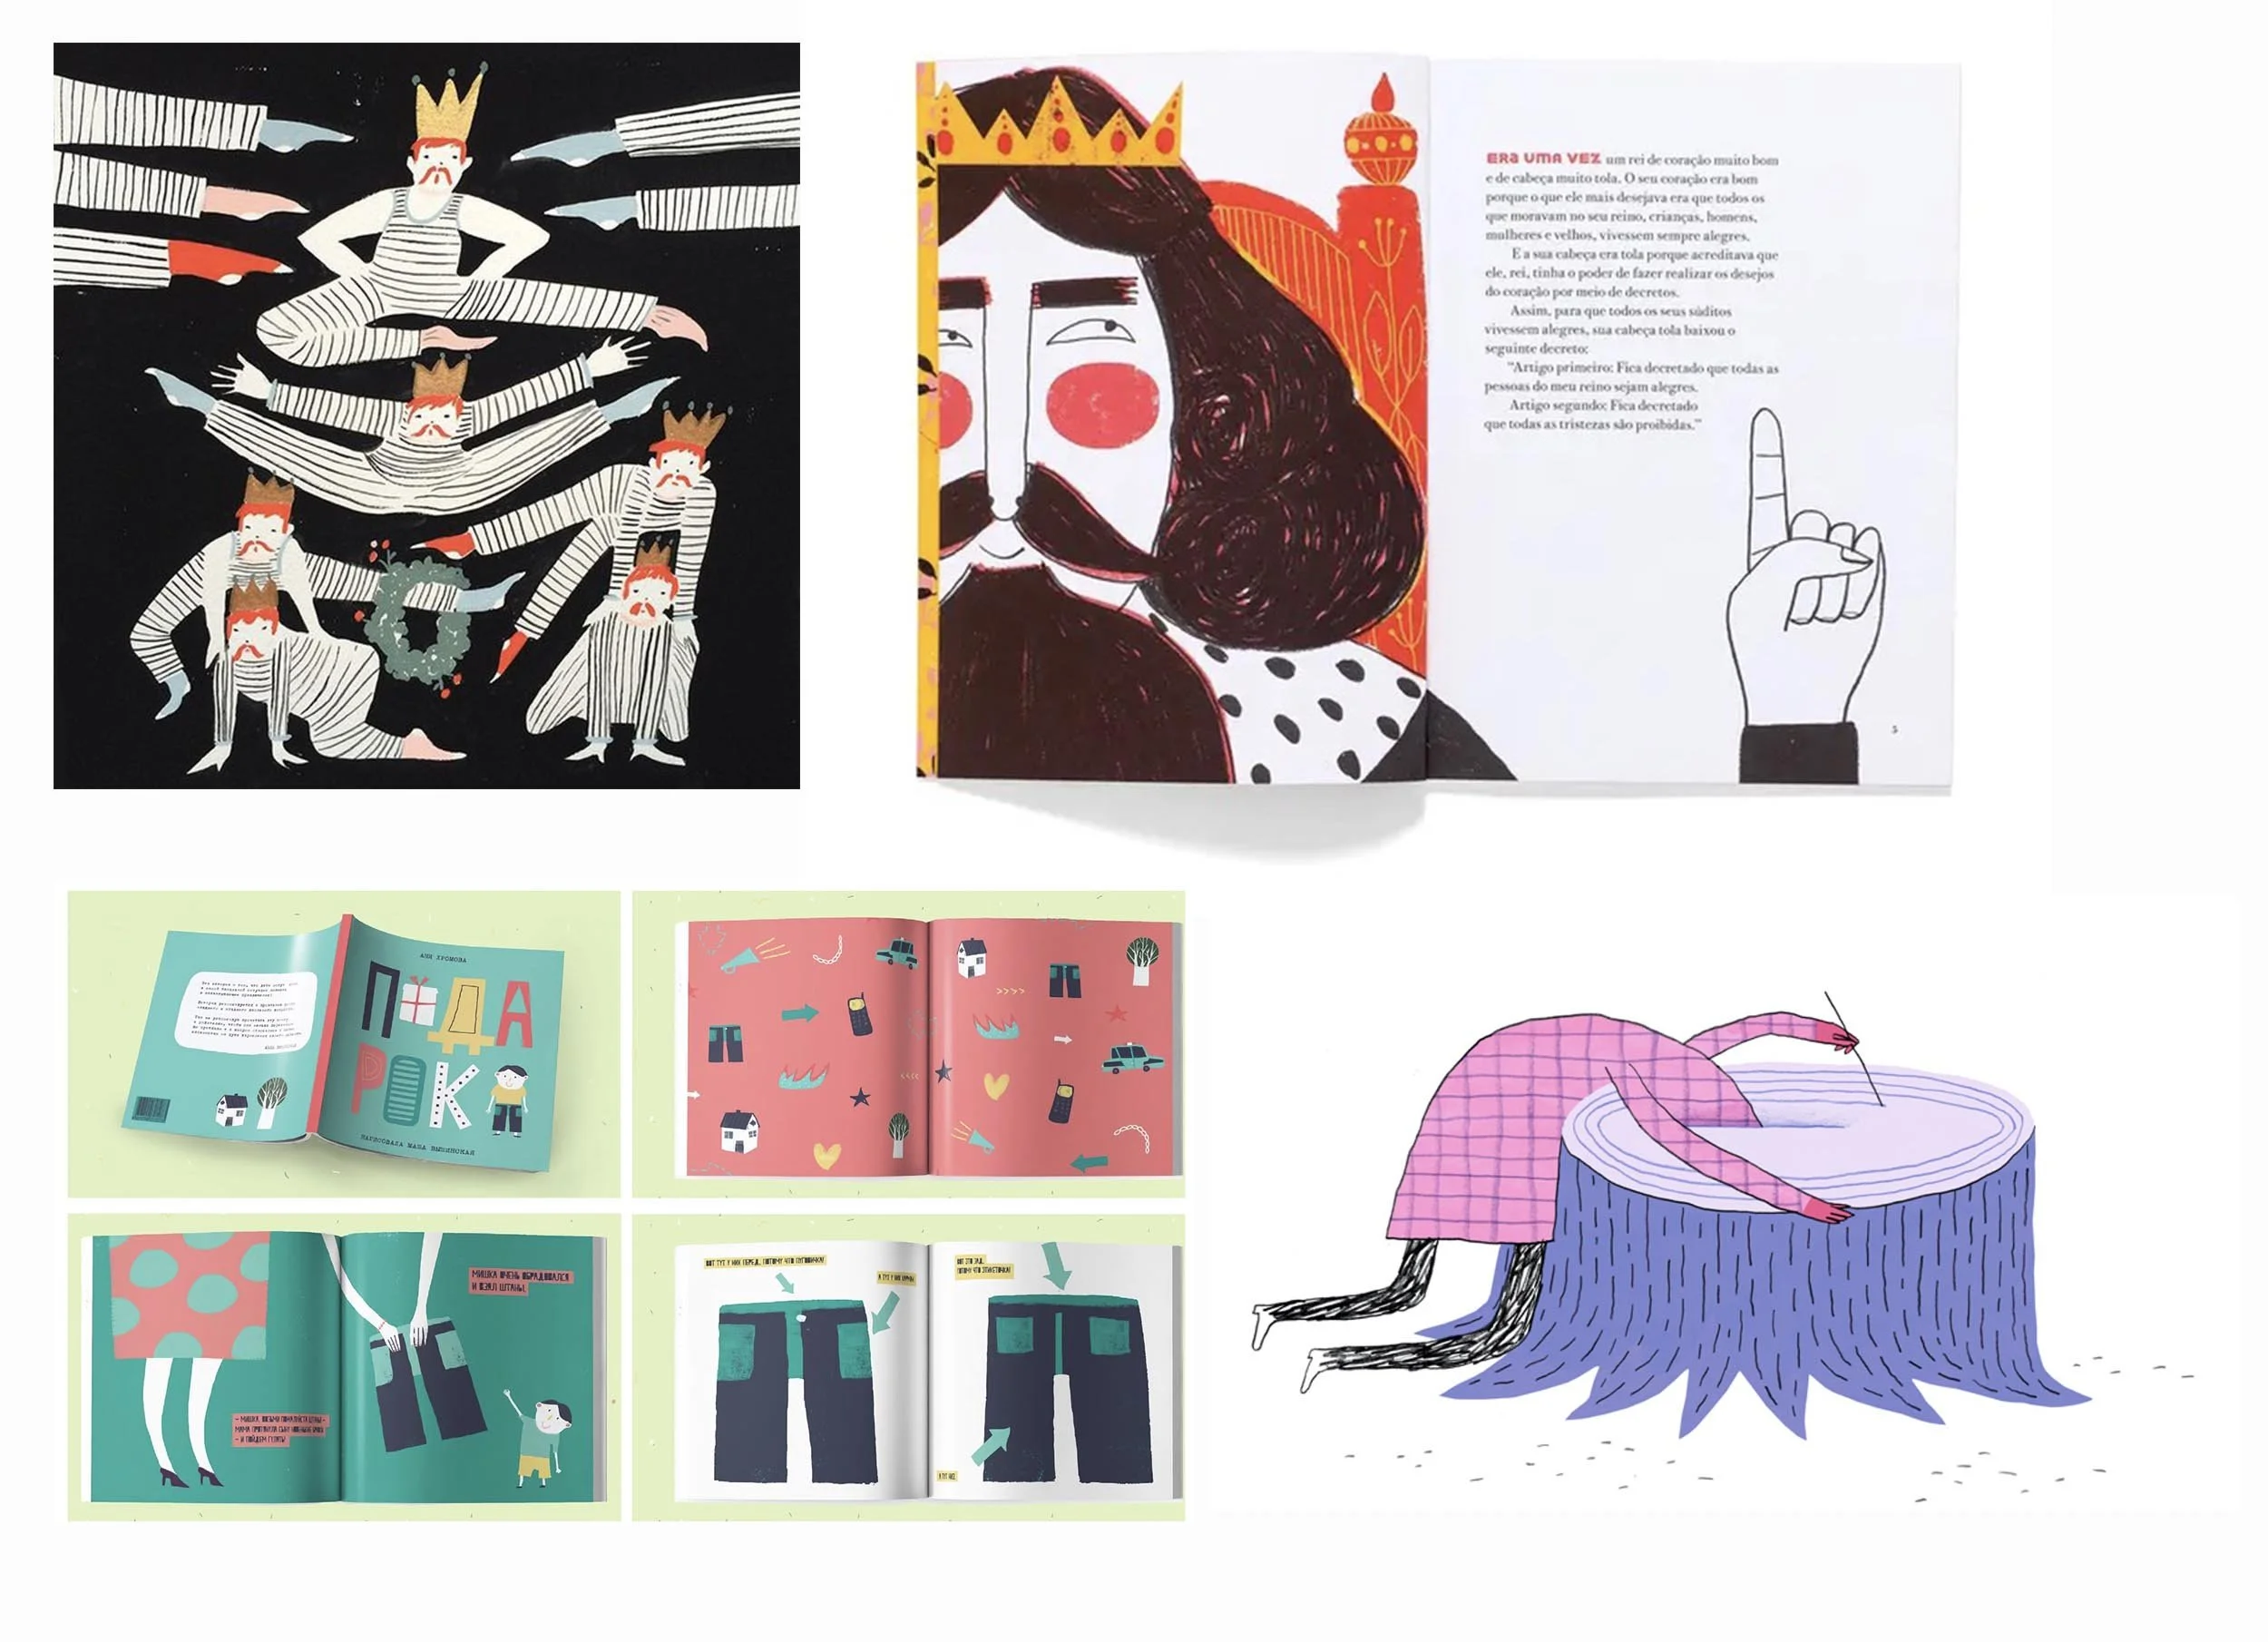
I compile an extensive design mood board that gathers all visual references of styles and projects (posters, books, picture books, etc.) that I consider helpful in the further sketching and illustrating process.
03 Presenting initial ideas, directions and illustration styles
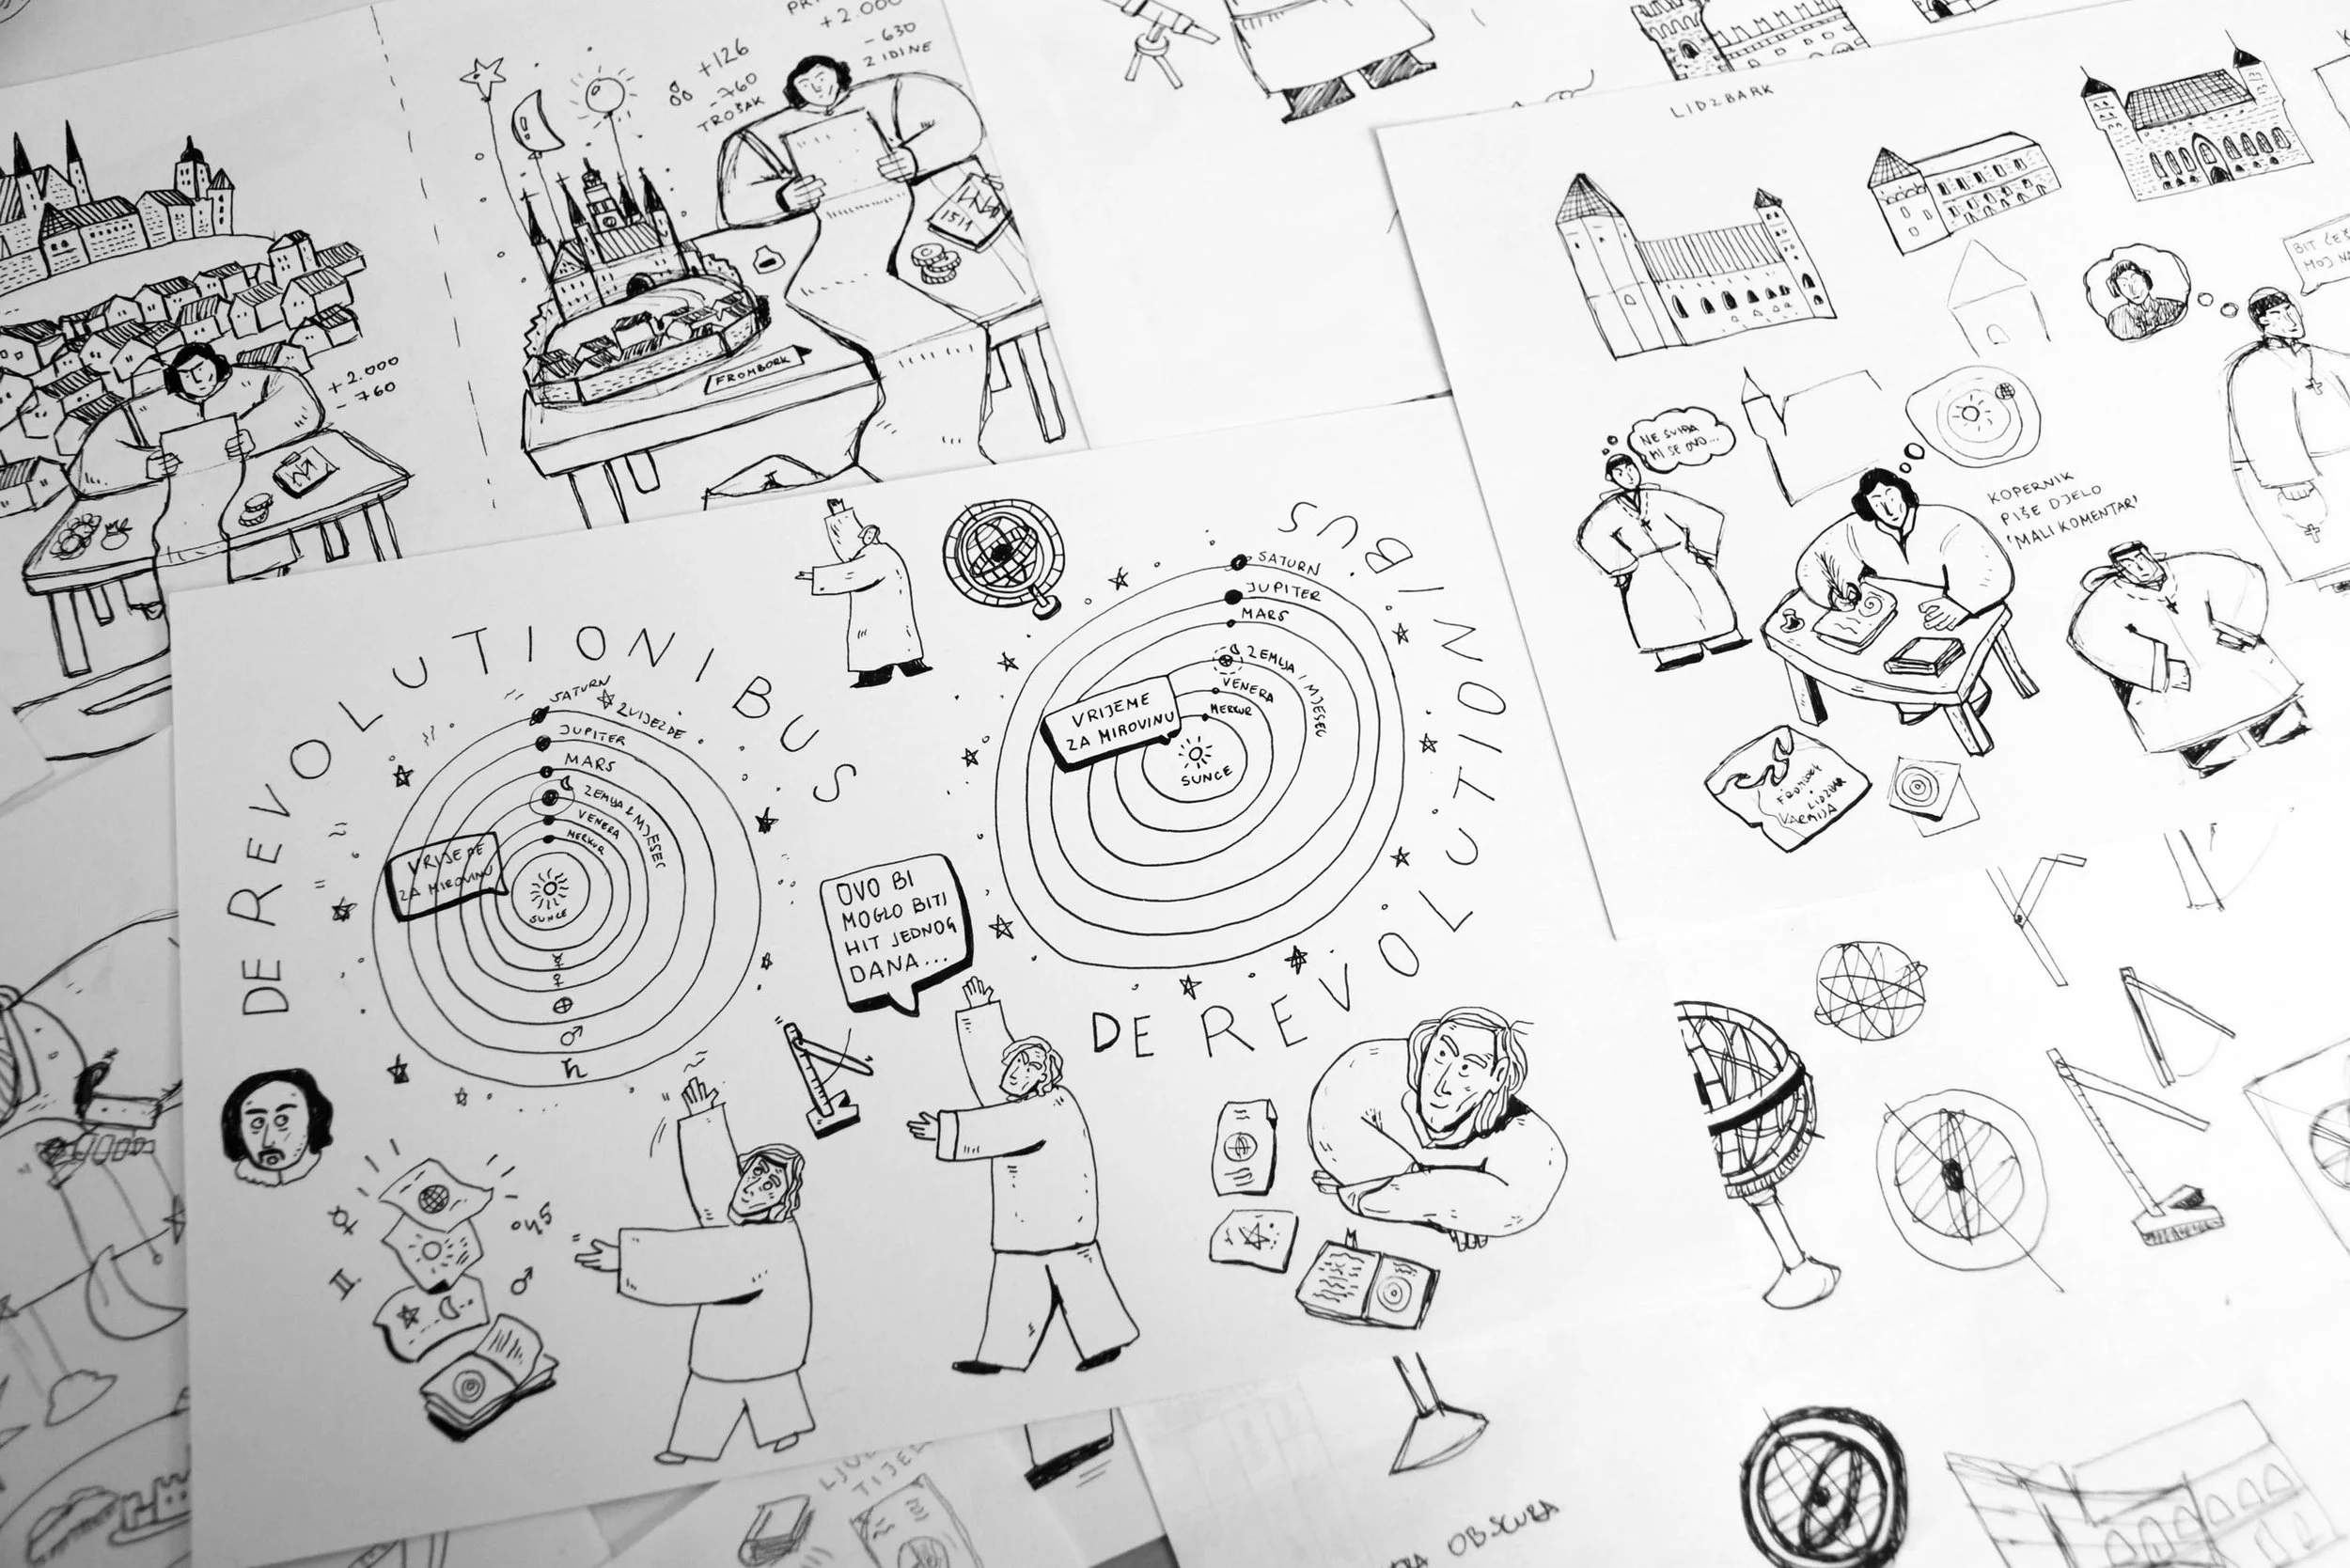
The aim of this phase is to create the look and feel of the story's illustrations and lay the foundations for the entire narrative. It includes:
presenting initial ideas based on several sketches of characteristic characters, places, objects, phenomena... usually using pen or markers, on paper or with a graphic tablet on the computer
interpreting the text through sketches
Creating rough sketches of 2-3 spreads or pages with characteristic parts
Applying specific techniques to selected sketches such as digital processing and effects (flat illustration, line illustration, watercolor effect, etc.) - anything that can help the client gain a better understanding of what to expect
Creating a plan for the entire story by pages using extracted key concepts, associations, and situations
Planning the visual rhythm of the story - how to achieve dynamics in the user experience while reading
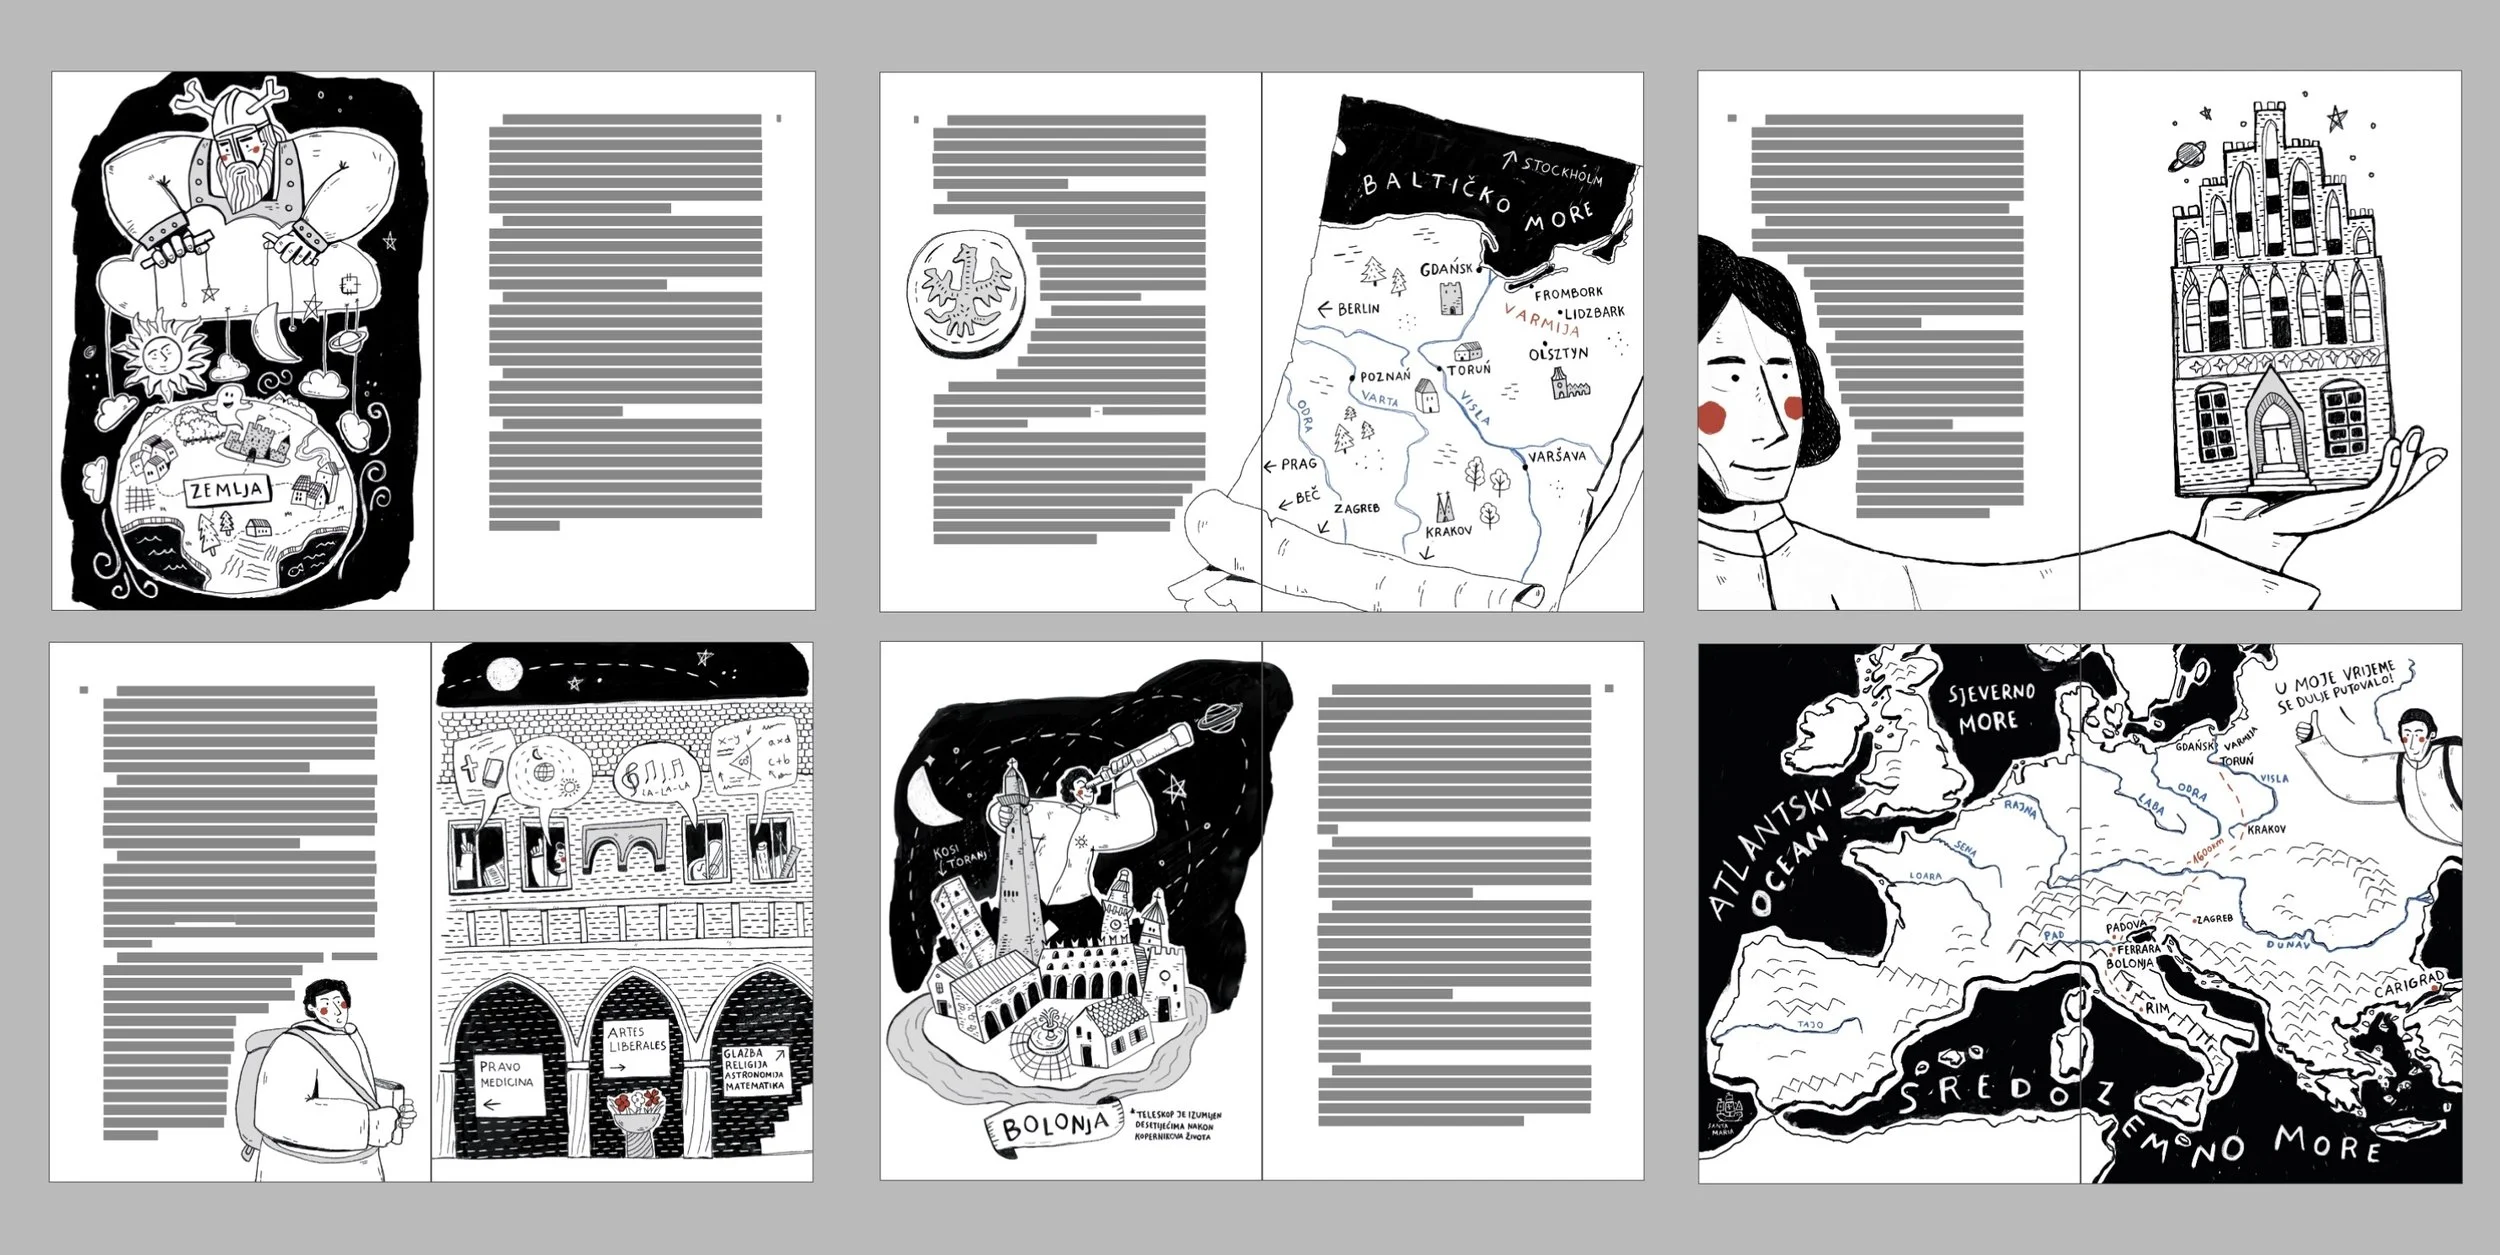
Planning the visual rhythm of the story and page dynamics. At this stage, we are already in the later phase.
04 Refinement of book block illustrations
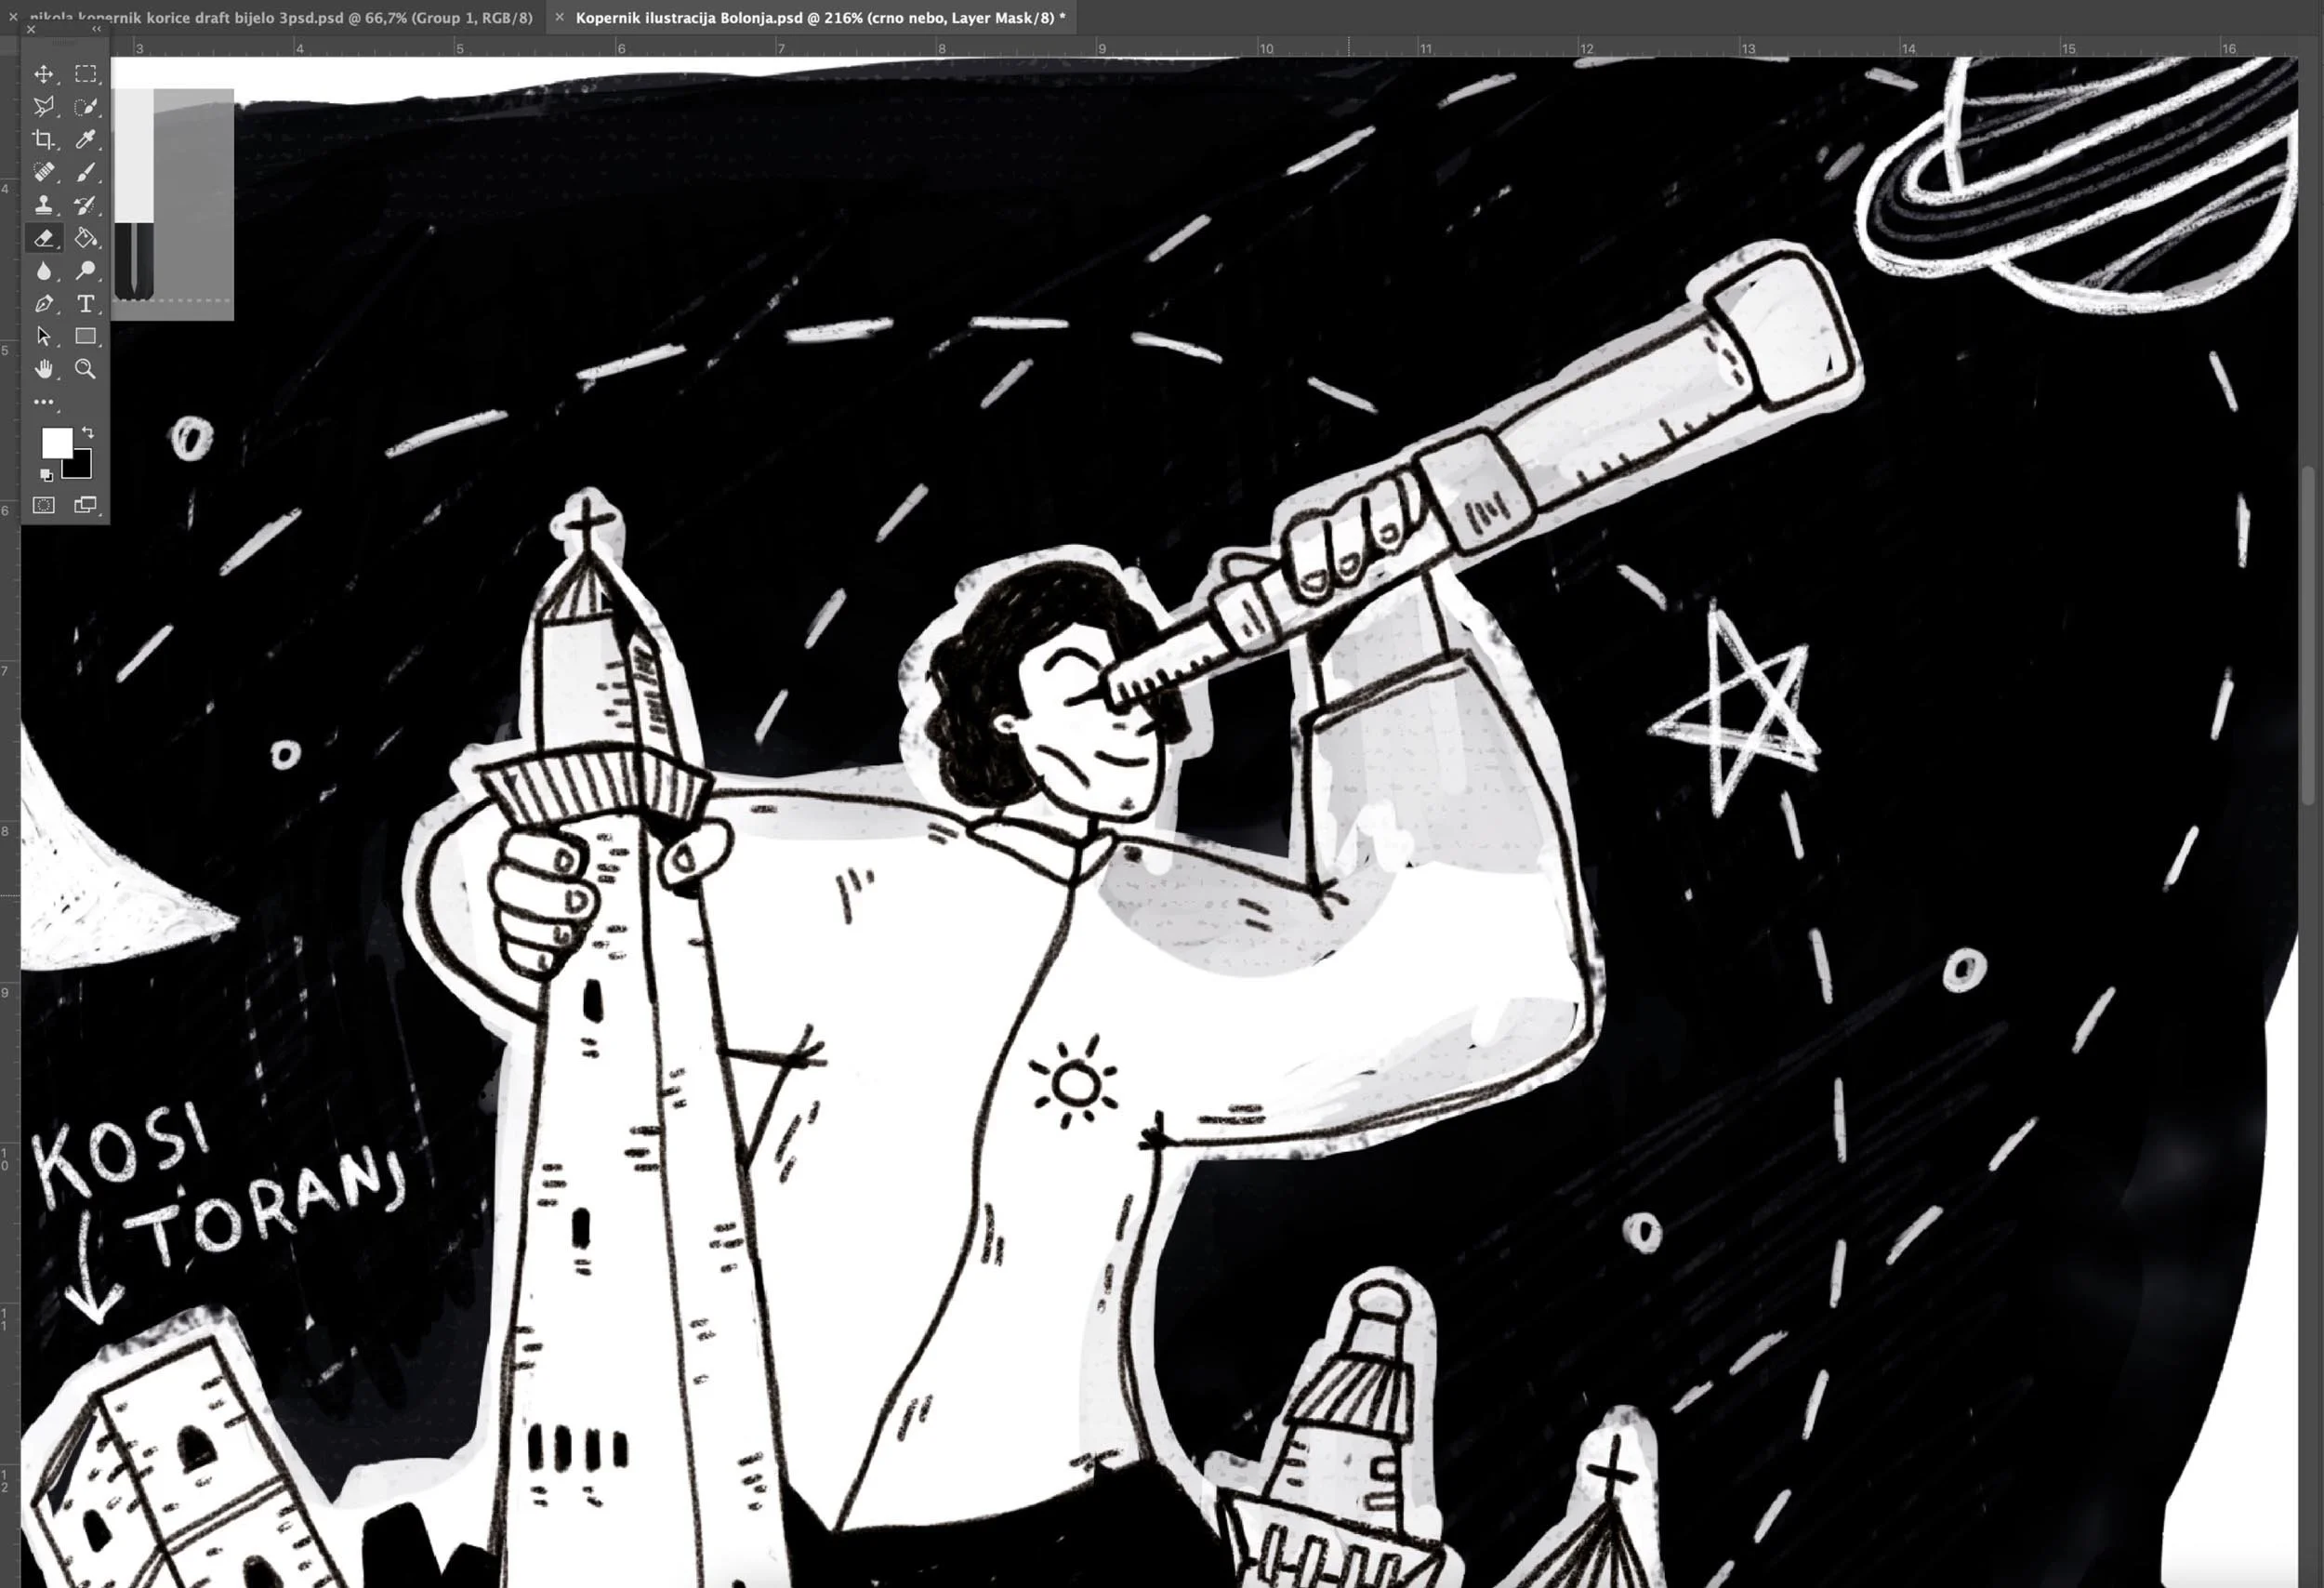
After selecting the illustration style and direction, the following steps are:
illustrating details
digital processing of illustrations
additional revisions with the client/author
Once we are ready with the illustrations for the book block, we move on to the cover.
05 Illustrating cover pages and artwork delivery
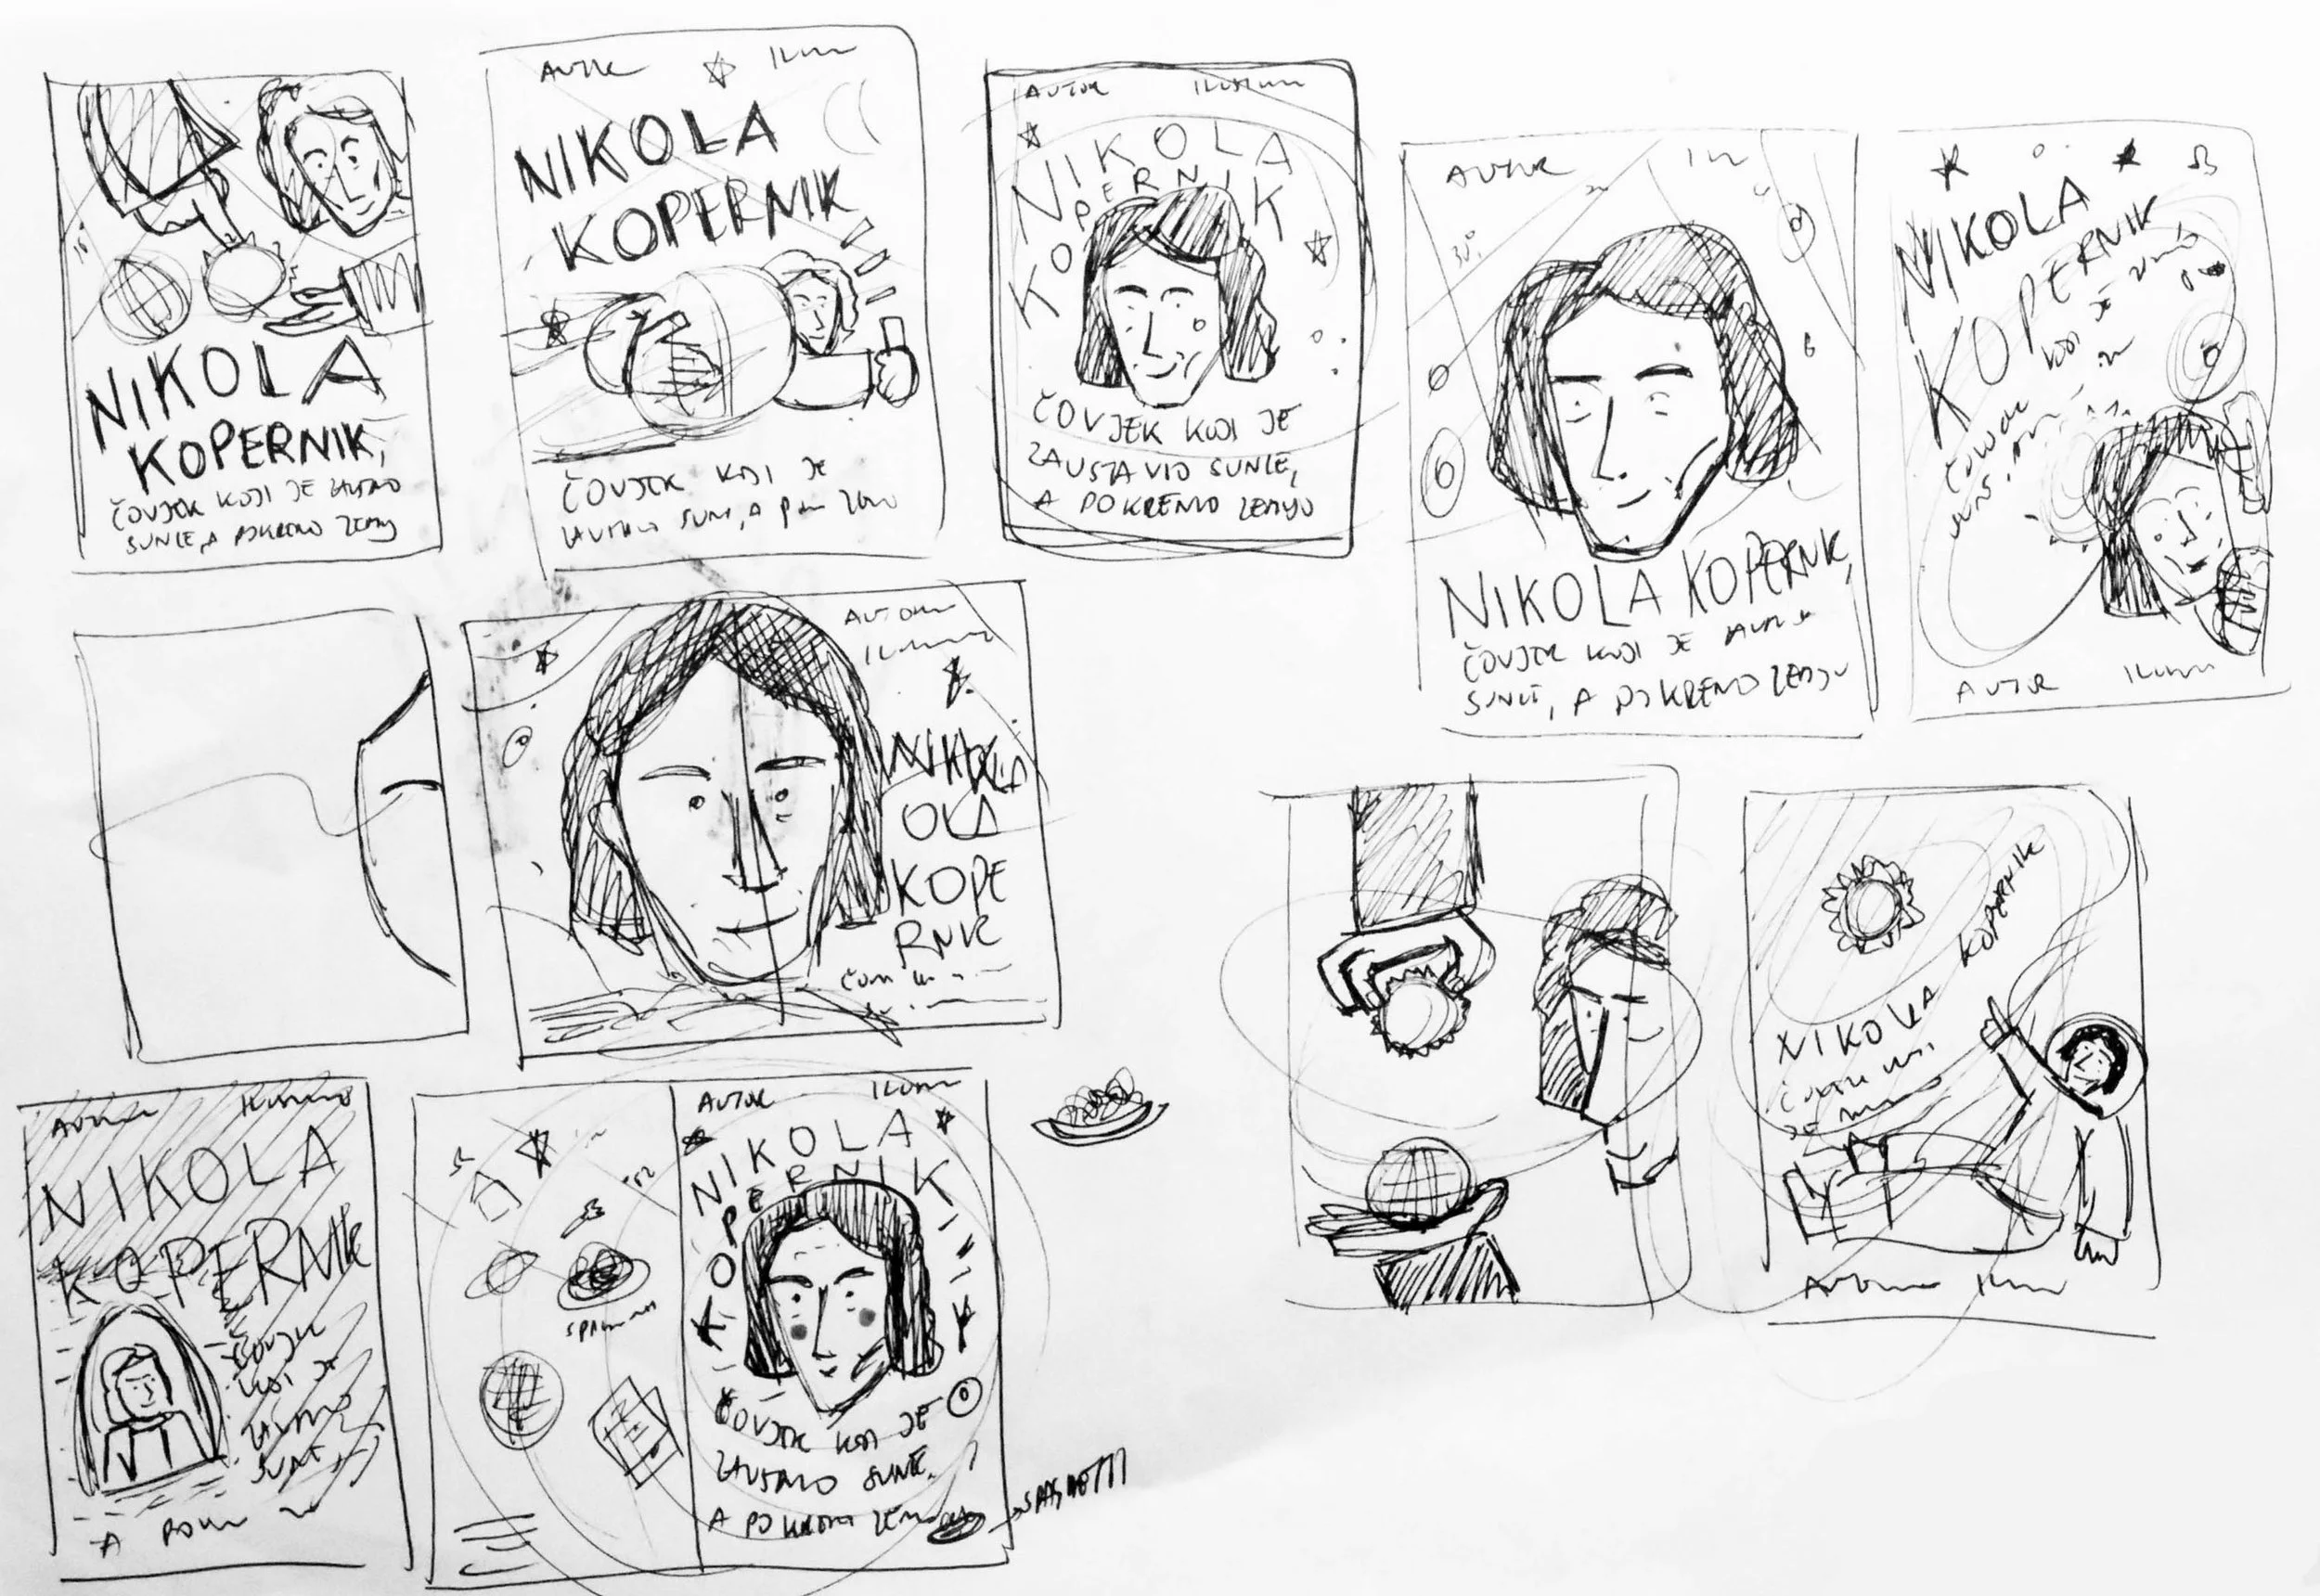
When designing the covers, they can be either simple or complex, but here's what I consider at this step:
reflecting on the type of covers, paper type, or material type
considering additional printing effects such as foil stamping or UV coating
amount of information required on the covers - author information, publisher, illustrator, summary, ISBN number, place and year of publication, printer, etc.
thickness of the book and spine
Some technical details are known in advance, while others are determined later.
Regarding the design and illustration of the covers, the process is as follows:
Sketching and presenting several cover concepts, occasionally also for the back cover.
Each concept is supported by reasoning on what we aim to achieve.
We discuss and select a favorite together with the author/client.
Further refinement and corrections.
Delivery of illustrations in print and/or web format.
The job of an illustrator is complete... or is it?
Here, my part of the job as an illustrator finishes...
...unless...
...you would like me to also handle the book layout along with the illustrations.
In this case, I will briefly explain what else needs to be done when creating a printed publication where you are both the illustrator and the book layout designer, and also handling the graphic preparation for printing.
06 Book format and page layout design
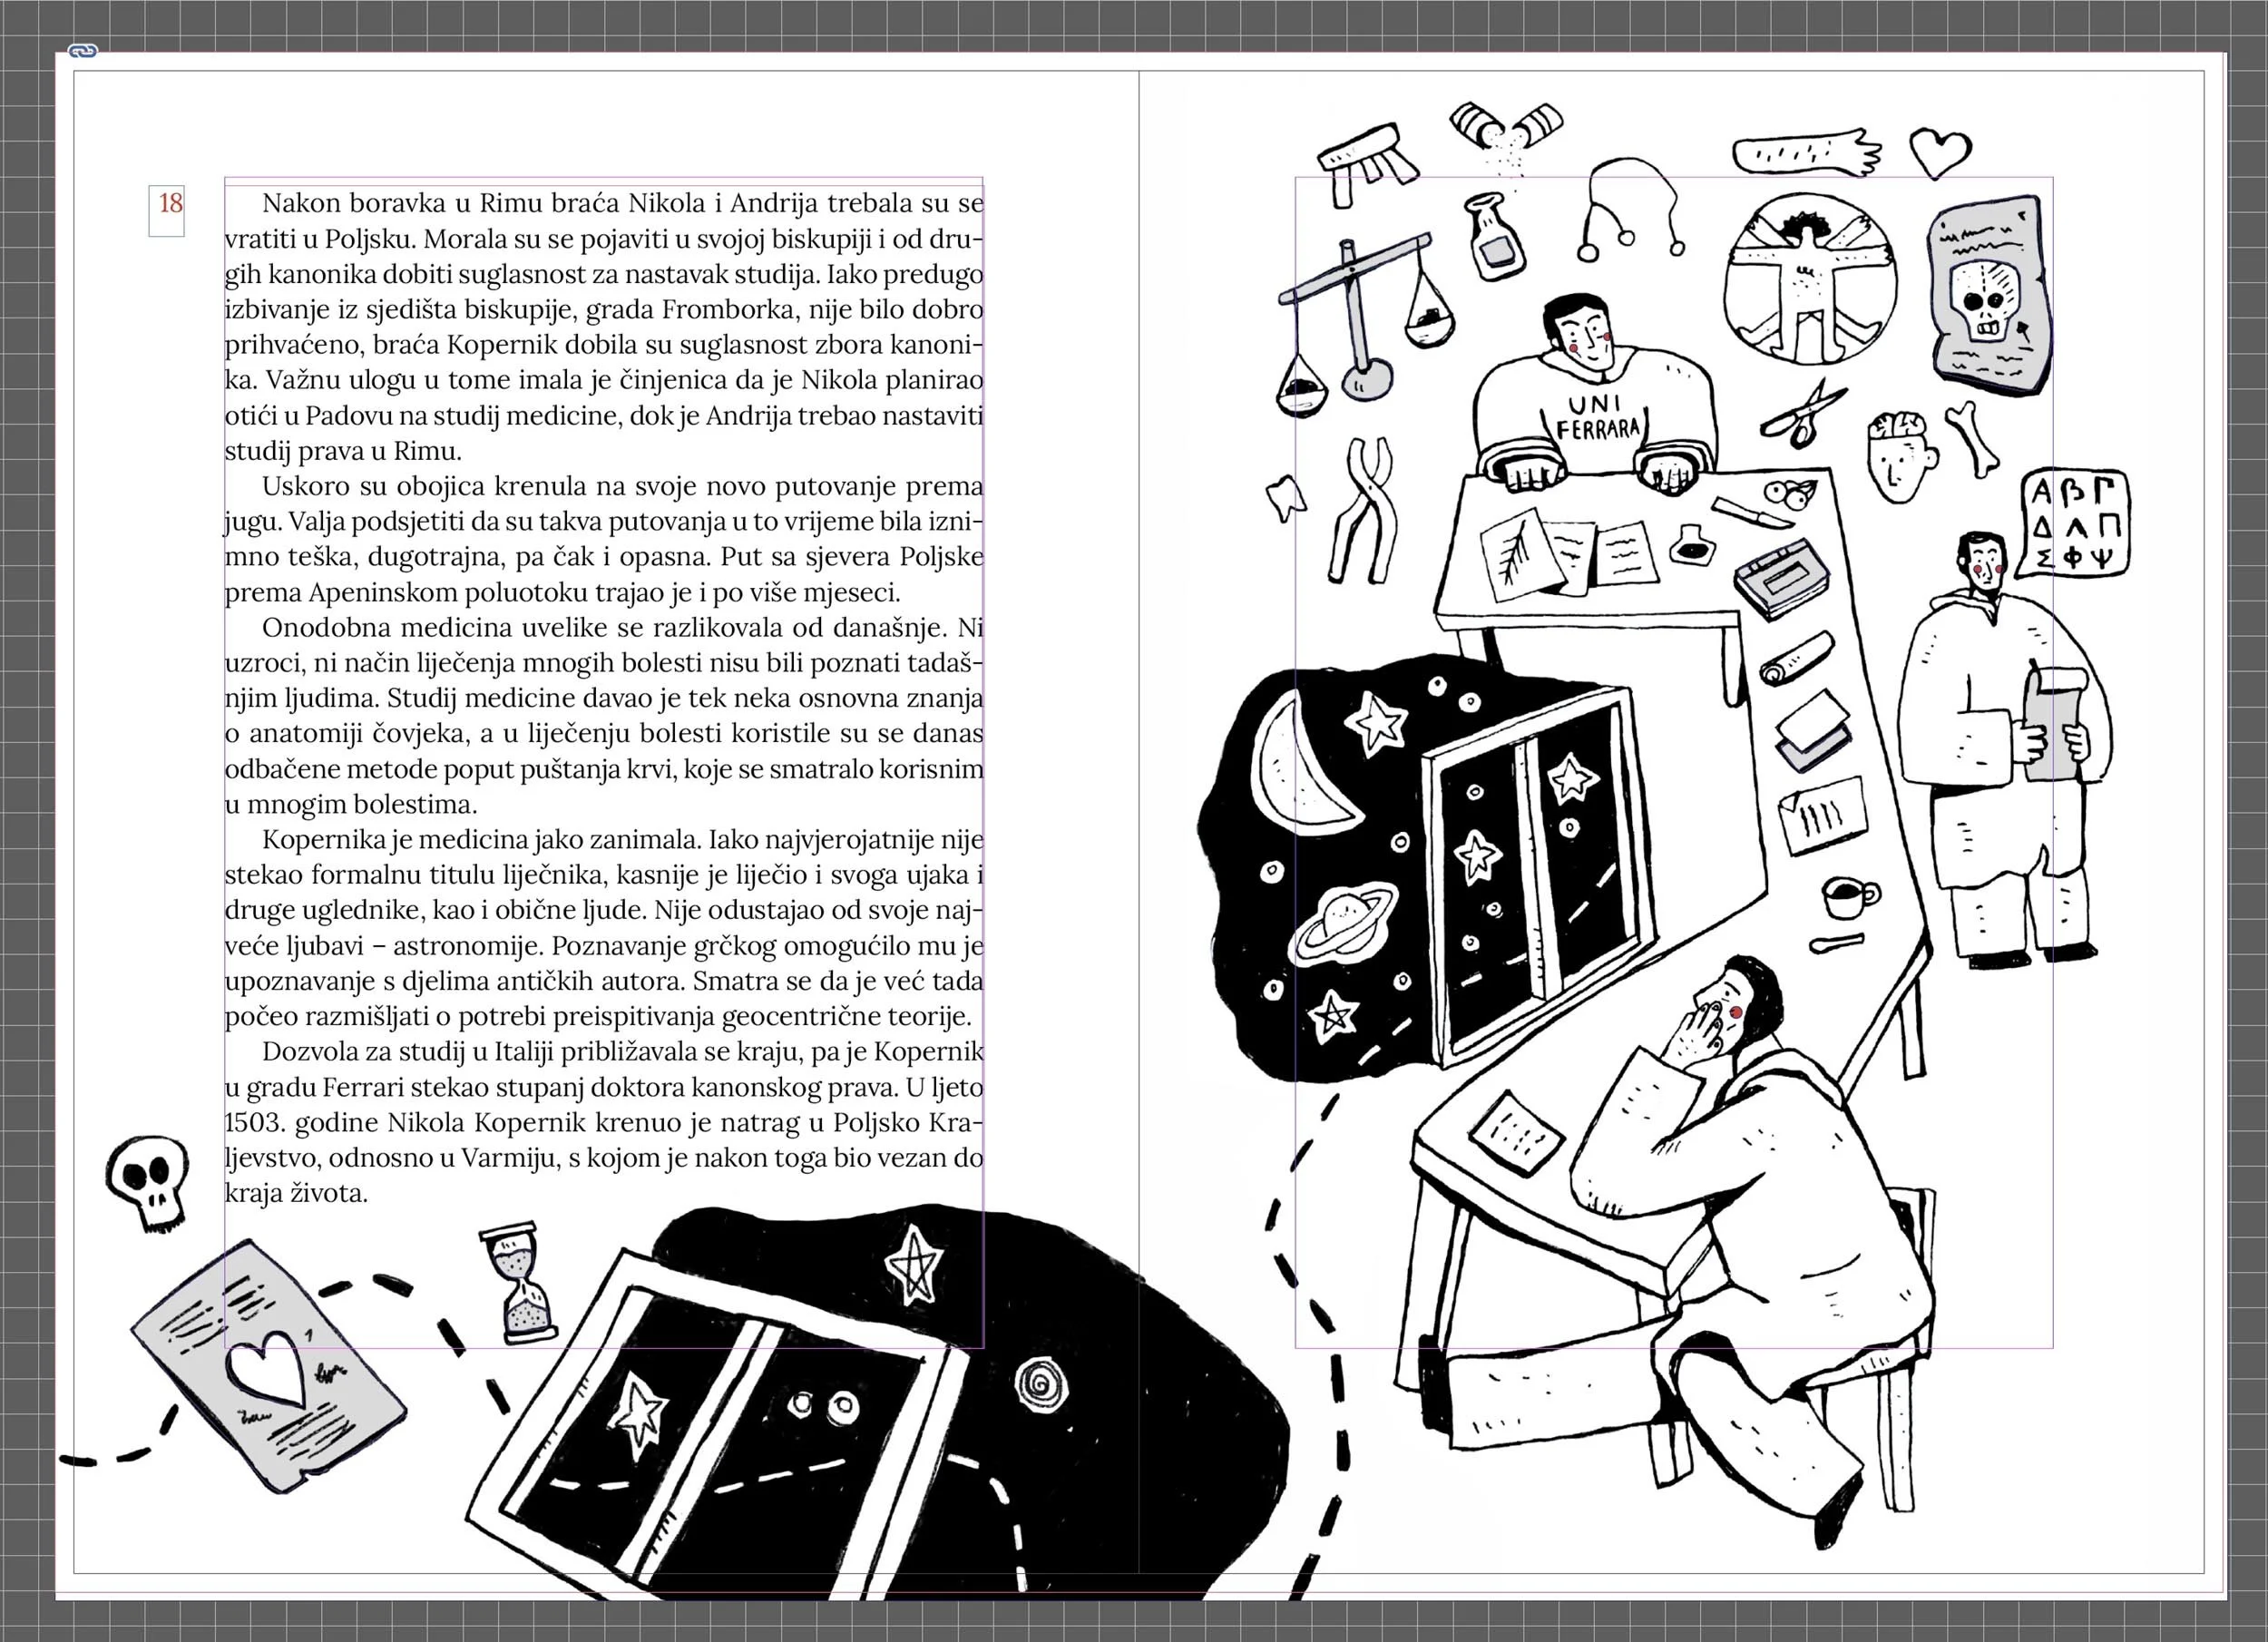
The book format is crucial, and it's ideal to determine it at the beginning of the project before delving deeper into the process. When selecting the book format, we take several factors into consideration:
Is the format already predetermined?
Are we using a standard format in printing, i.e., from the publisher, or a non-standard one?
Which format best suits our project?
If I'm also handling the page layout, then:
I consider which layout style to use - strict, hybrid, or free-flowing - depending on the relationship between illustrations and text.
I establish the basic layout or template for text hierarchy (headings, body text, footnotes...), space for illustrations, etc.
I test several layout pages with illustrations.
An example of a free-flowing layout is the illustrated educational picture book "The Story of Kaj."
During the layout process with illustrations and the visualization of the book, I present ideas to the author/client, receive feedback, and make necessary revisions.
When laying out the pages, it's essential to consider the book's structure. In our case, the book block consists of:
Half-title page
Impressum
Title page
Dedication spread
Beginning of the story
Final page with project and publisher information
We haven't used a table of contents in this case.
07 Specifications for book printing
In order to receive an accurate quote from the printing house, it is necessary to provide specifications for printing that include:
open and closed format of the book block
page count of the book block
let's not forget that for a certain type of binding, the total number of pages must be divisible by 4
cover format
type of paper for the book block
type of paper for the cover
binding type - soft, hard, spiral, stapled...
print run - this part is handled by the client
printing type - for example, digital, CMYK, double-sided printing
endpapers - can be illustrated, left blank, or in this case, red color in line with the story of Copernicus
finishing touches - such as trimming to format, folding, foil stamping...
additional services - for example, delivery of books to the client's desired address
Based on the received preparation of the book block, the printer will provide you with the spine dimensions of the book.
Once we're done with the layout, I often print everything to assemble a mock-up or prototype of the book. With the printed prototype, together with the author/client, I gain a better insight into how everything will look. Also, it's easier to spot any potential errors and take the opportunity for corrections before preparing for printing.
08 Preparing files for print
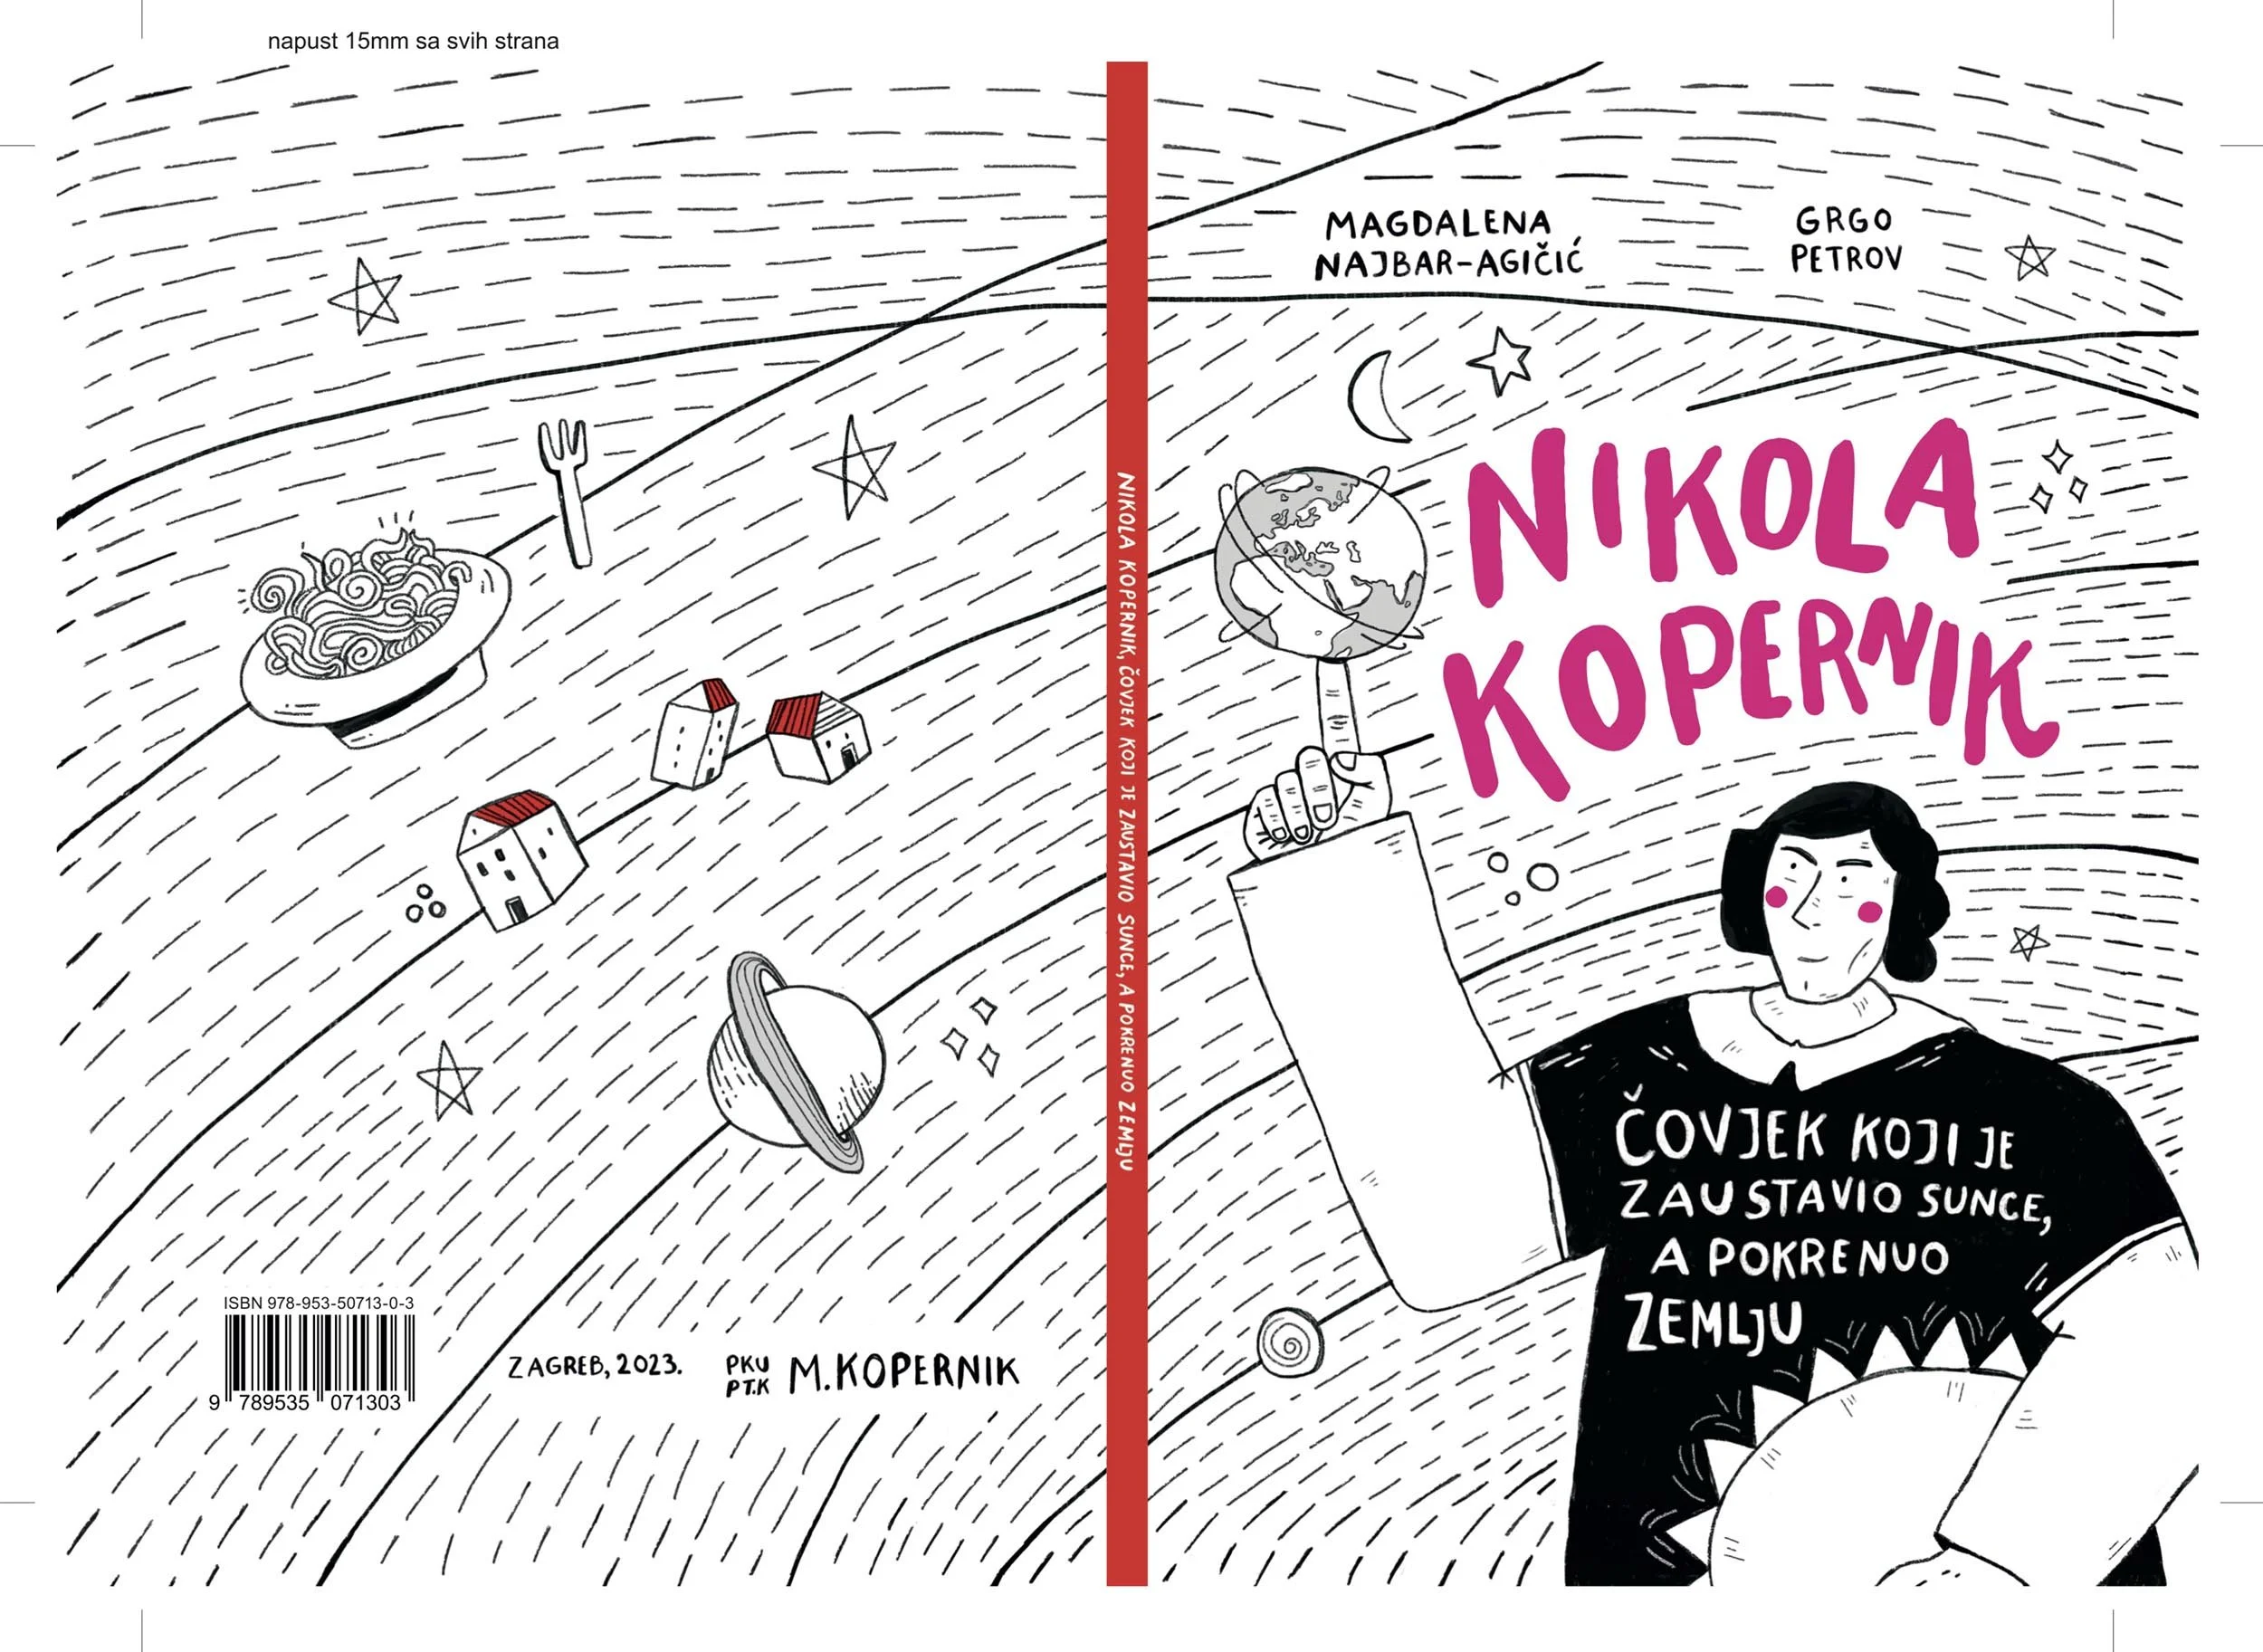
Example of cover preparation for printing - trim marks, 15mm bleed, and foil stamping template (purple for title and cheeks)
Printing preparation involves preparing the publication for print.
It often sounds like a quick and easy job - maybe, if you're only making one poster for printing at the copy shop.
Printing preparation in PDF format consists of several parts:
converting text to curves
converting visuals (illustrations, photographs, etc.) to the CMYK color system
adding bleed and crop marks
content checking - ensuring everything is where it should be, that text or visuals haven't shifted, etc.
positioning and preparing special elements (e.g., for foil stamping, UV coating, etc.)
checking the dimensions of the publication format
Before we start preparing for print, we need to confirm two or three things:
both the client/author and I know how the book will look
the author/client has previously confirmed the book block and cover
the printing house also knows how the book will look - I always create a so-called mockup or realistic simulation of the book so that the printing house can confirm that the received materials match the expected product.
09 File delivery and final approval
Before sending the printing preparations to the printing house, I always send them to the author/client for the final review and approval once again.
The printing preparation for a book or picture book consists of several elements:
preparation of the book block
preparation of the cover (front cover, back cover, spine)
preparation of endpapers
preparation of a mockup, i.e., a simulation of the covers, first pages of the book block, and the end of the book
And just when you think everything is done, there are still a few steps left:
approval of the book block
approval of the cover
possibility of subsequent revisions (if I notice an error on page XY)
With my final blessing, the printing house starts the production of the book.
All that's left is to wait and receive the joyful news that the books have been printed and are ready for pickup.
10 Additional promotional materials
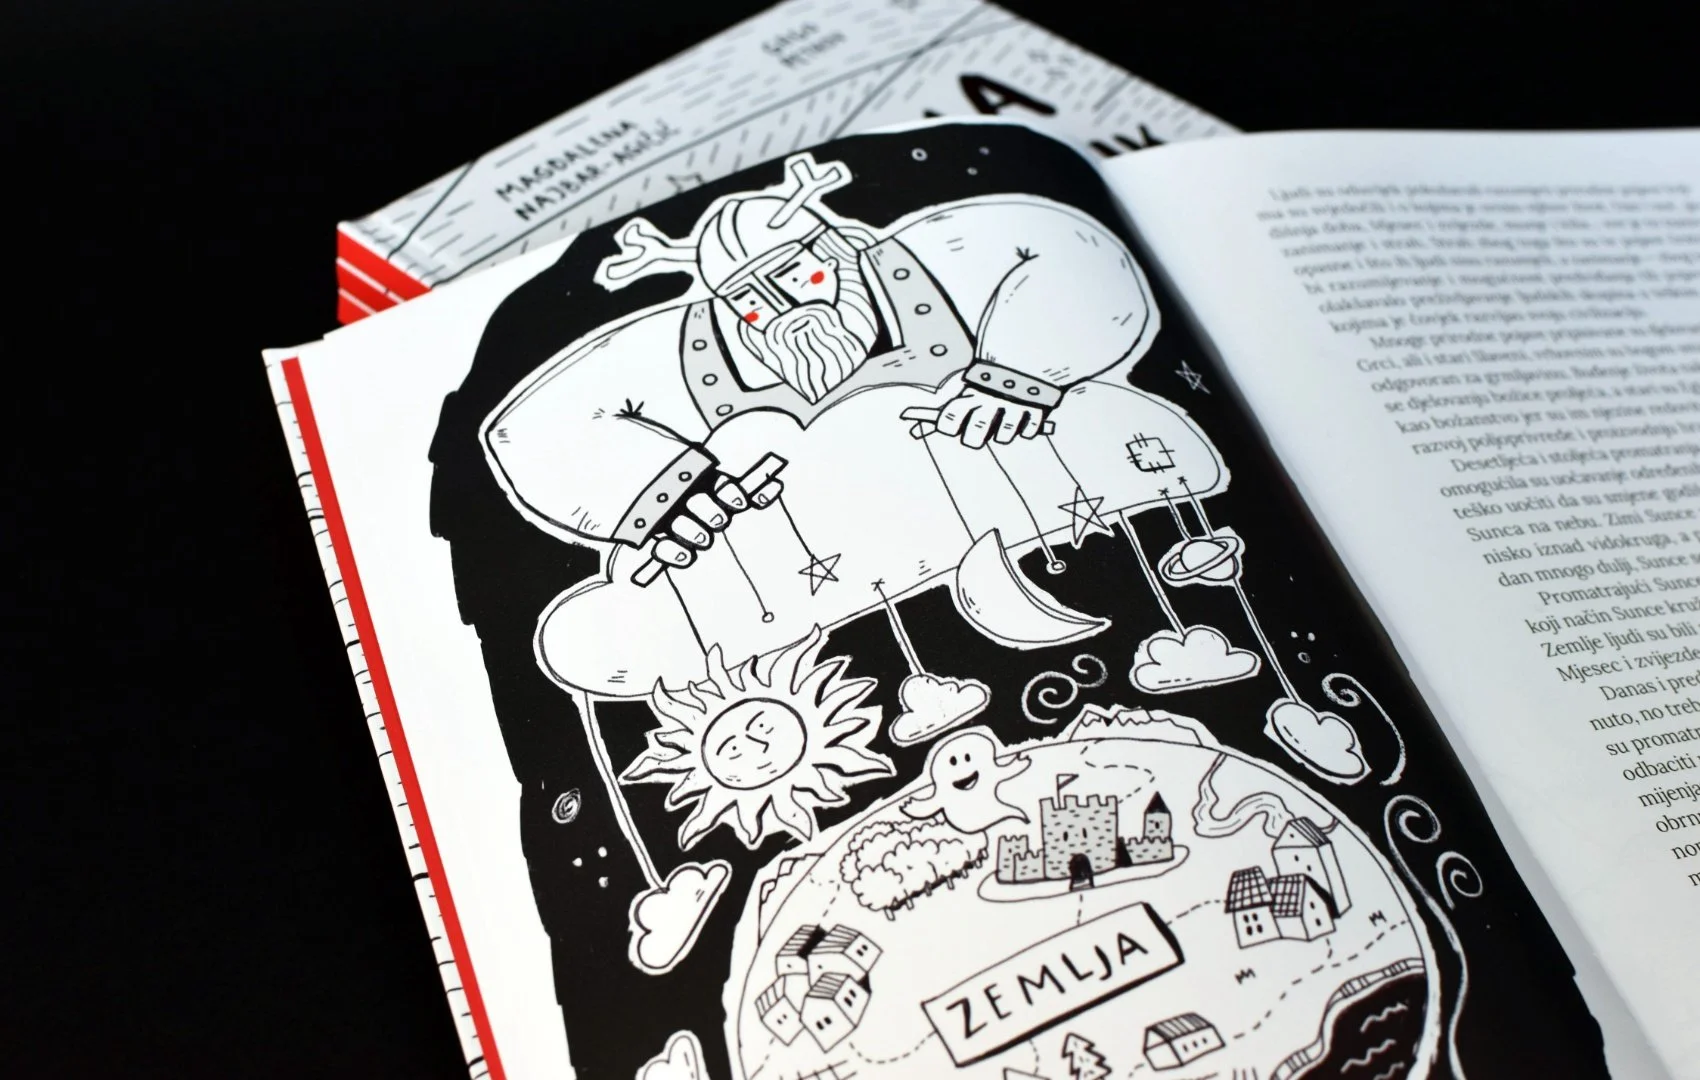
Congratulations, the book is finished! You hold your work in your hands. Everyone is satisfied. The author is happy and grateful for the collaboration. It's time to boast on social media and definitely show it off to grandma and grandpa.
However, sometimes in agreement with the client, I also work on designing accompanying promotional materials such as social media posts, advertisements, videos, or short sales presentations to promote the project.
The job is officially done here, and official presentations, promotions, tours, or workshops often follow.
Illustrating stories and picture books — a short guide
And that's it regarding illustrating stories and picture books with a focus on printing. :)
I hope you've learned something new and that you can plan your process based on my experience and way of working.
For those who want to dive deeper into the process, I have prepared a detailed guide that you can access here.
Trebate li pomoć na projektu?
If you have a project where you need the help of an illustrator and designer, or if you're an illustrator who's stuck in the process, feel free to reach out to me via email at grgo@disegnat.com.
Thanks for reading,
Grgo
